Introduction
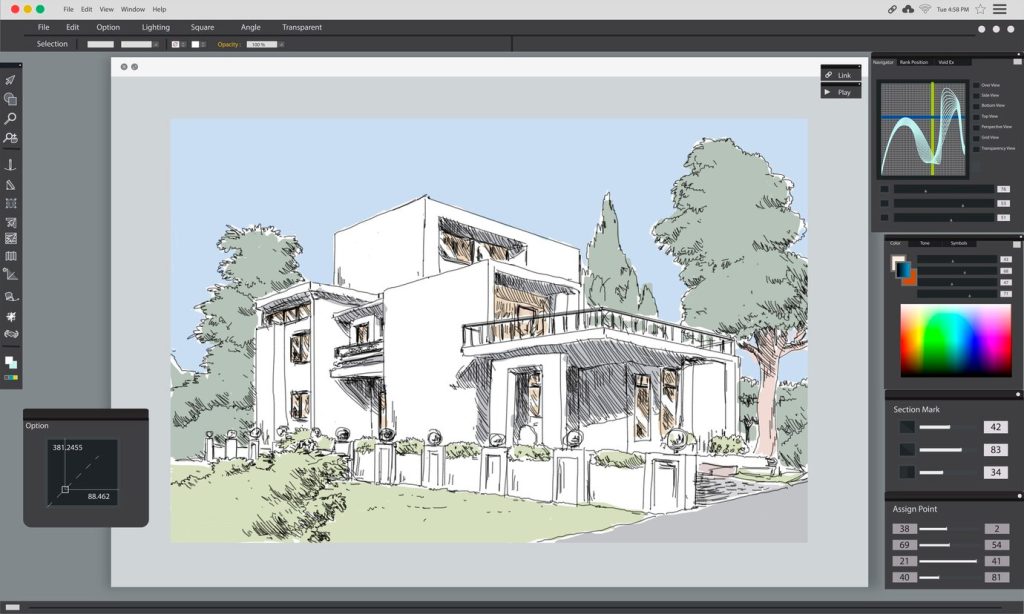
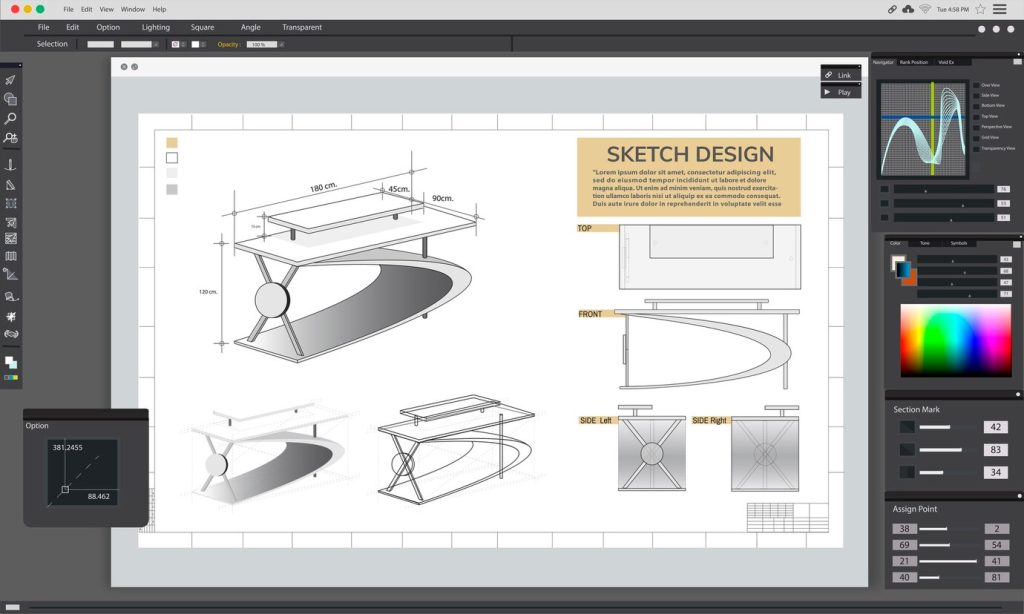
Welcome to our step-by-step guide on “3D Architectural Design in SketchUp”. Whether you’re a seasoned architect, an aspiring designer, or a curious novice, this tutorial will help you master the tools and techniques to transform flat sketches into stunning 3D models using SketchUp.
SketchUp, a premier 3D design software, presents a user-friendly interface that is intuitive, making the design process not only efficient but also enjoyable. From building information modeling to rendering and animation, SketchUp serves as a one-stop-shop for all your architectural design needs.
Embracing SketchUp for 3D architectural design comes with a plethora of benefits. First, it helps breathe life into your ideas, transforming them from 2D drawings to 3D visualizations. Second, with its large library of components, SketchUp allows you to detail your designs, enhancing their realism. Third, its geo-location feature enables you to incorporate site-specific elements, infusing a realistic environmental context into your virtual design.
Join us on this exciting journey as we explore the landscape of 3D architectural design in SketchUp!
Getting Familiar with SketchUp Interface
Before embarking on our architectural design journey, it’s important to familiarize ourselves with the SketchUp interface, the dashboard of our virtual crafting vessel.
The SketchUp interface, imbued with user-friendly simplicity, facilitates easy navigation. Upon opening the application, we’re greeted with the ‘Welcome to SketchUp’ dialog box, granting us easy access to templates, recent files, and licensing information.
The SketchUp workspace mainly consists of five parts:
- Title Bar: The topmost region of the interface displaying the application’s name, controls for adjusting window size, and other typical window functionalities.
- Menu Bar: Located directly beneath the title bar, the menu bar comprises dropdown menus that provide access to various commands and tools, like File, Edit, View, Camera, Draw, Tools, Window, and Help.
- Toolbars: One of the crucial elements of the SketchUp interface, toolbars are home to multiple tools for drafting and editing 3D models. Depending on whether you are using Windows or MacOS, the way you customize and see the toolbars might vary.
- Drawing Area: This is the stage where your designs come to life! The drawing area is the substantial central region of the interface, where you construct and manipulate your 3D models.
- Status Bar and Measurements Box: Situated at the bottom, the status bar provides useful prompts to guide
Setting up Your Workspace
Creating a seamless and personalized workflow is a crucial part of using SketchUp effectively. Here’s how you can set up your workspace:

Creating a New File
- Once you open SketchUp, navigate to the upper left part of your screen.
- Click on ‘File’. From the dropdown menu, select ‘New’. Your fresh canvas is ready!
You can also use shortcut methods by pressing Ctrl+N (on Windows) or Command+N (on MacOS).
Setting Up the Template
- On the ‘Welcome to SketchUp’ dialog box, navigate to the ‘Template’ tab.
- Scroll through the various templates available in the ‘Template’ tab which are organized according to the type of project and units of measurement. These templates can help streamline your design process.
- Click on the template that suits your project needs. You’ll notice that each template description contains information about units, styles, and other settings.
Adjusting Units and Preferences
- Click on ‘Window’ from the menu bar and select ‘Model Info’. A dialog appears where you can customize various aspects of your SketchUp model.
- Click on ‘Units’ from the list on the left. Here, you can tailor the unit format (decimal or architectural), precision, length, area, and volume units to suit your project requirements.
- Similarly, you can tweak other preferences such as ‘Styles’, ‘Components’, ‘Dimensions’, etc.
Now, your workspace is fine-tuned and ready for you to start designing!
Starting with Basics: Navigation
No crafting journey begins without learning how to navigate through it, and SketchUp is no exception. Here’s a rundown of the vital navigation tools you’ll need and their functionalities:
- Orbit Tool: This is your primary tool for rotating and changing the viewpoint of your 3D model. Simply select the orbit tool from the toolbar (or press ‘O’ on your keyboard for a shortcut), click and drag within the drawing area to rotate your view.
- Pan Tool: The pan tool allows you to shift your view without changing your viewing direction. It’s like sliding your view from side to side or up and down. To use this, select it from your toolbar or press ‘H’ on your keyboard. Then click and drag in the drawing area.
- Zoom Tool: As the name suggests, the zoom tool lets you come closer, move away, or zoom to extend your model. Select the zoom tool from the toolbar or press ‘Z’ on your keyboard. Click and drag upwards to zoom in, or drag downwards to zoom out. A quick tip: If you scroll your mouse wheel, it will also zoom in and out.
- Zoom Extents: This tool (represented by a magnifying glass with four arrows) fits your model into your drawing area. So no matter where you are or how zoomed in or out you’ve become, one click of this tool (or pressing Shift and ‘Z’ together) will show you the full design.
Remember, mastering these navigation tools is the first step to efficiently designing in SketchUp. Practice switching between them and using them in tandem until moving around your design becomes second nature to you.
Creating Basic 3D Shapes
SketchUp’s strength lies in its intuitive tools, which make crafting basic 3D shapes a breeze. Here’s how it’s done:
Creating 2D Shapes
Rectangle Tool
- Click on the rectangle icon in the toolbar or press ‘R’ on your keyboard.
- Click once to set the first corner of the rectangle.
- Drag your cursor across the drawing space, notice how a rectangle is forming.
- Click again to set the opposite corner and complete the rectangle.
Circle Tool
- Click on the circle icon or press ‘C’.
- Click once where you want the center of the circle to be.
- Drag outwards to increase the size of the circle.
- Click again to complete the circle. You can adjust the segments of the circle from the ‘Entity Info’ dialog.
Polygon Tool
- Click on the polygon icon or press ‘P’.
- Click once to set the center of the polygon, and pull outwards to set the radius.
- Click to complete.
- To change the number of sides, simply type the number, followed by “s” (for example, “7s” for a heptagon), and hit ‘Enter’ before your second click.
Extruding 2D Shapes into 3D
Push/Pull Tool
Now that you’ve drawn your shape, you may wish to give it some volume.
- Click on the Push/Pull tool in the toolbar or press ‘P’.
- Move your cursor over the 2D face you’ve created. You’ll notice it becomes highlighted.
- Click and drag to pull the face into a 3D shape. The distance you pull becomes the depth of the shape.
- Click again to finish extruding the shape.
Remember that accuracy is essential in CAD design. You can ensure precision by entering your desired measurements in the dimensions box or using the existing geometry or guides. Practice constructing these fundamental shapes, and soon you’ll have the toolkit to build complex structures!
Building a Simple 3D Structure
Building a 3D structure such as a house is straightforward with SketchUp once you know the basics. Here’s how you can do it step-by-step:
Step 1: Floor plan
- Start by drawing the footprint of your house using the rectangle tool (‘R’). For instance, create a 10×10 meter square for simplicity.
- If you want multiple rooms, simply draw additional rectangles inside your footprint where you want your walls to be.
Step 2: Build Walls
- Use the ‘Push/Pull’ tool (‘P’) to extrude the walls to your desired height. Click the face of the “walls” and drag upwards. If you want a 3-meter high wall, for example, simply type “3m” after pulling the wall up and press ‘Enter’.
Step 3: Create Doors and Windows
- Use the ‘Rectangle’ tool (‘R’) to draw shapes at the right positions for your doors and windows on the walls.
- Highlight the door or window face you’ve just drawn, then use the ‘Push/Pull’ tool (‘P’) to push it through the wall to the other side. This will create a hole in the wall.
Step 4: Constructing the Roof
There are a few ways to craft a roof, and it depends on the style of your house (flat, sloped, gabled?), but a simple method could be:
- Use the ‘Line’ tool (‘L’) to draw an edge at the top center of your walls.
- Then, using the ‘Move’ tool (‘M’), select the line and move it up in the blue (vertical) direction to the height of your roof.
- Next, use the ‘Line’ tool (‘L’) again to draw lines connecting the ends of your roof edge to the corners of your walls. This will create triangular faces which can be extruded into your roof.
- Finally, use the ‘Push/Pull’ tool (‘P’) to pull the roof across to the other side of your house.
Congratulations, you’ve built a simple 3D house in SketchUp! From here, you can add more details, such as textures, furnishings, and landscaping, which will make your house more realistic.
Applying Materials and Textures
Applying materials and textures is what truly brings a SketchUp model to life. It helps in providing a realistic look and connects the layers of your model with the real world.
Accessing SketchUp Materials Library
- Click the ‘Window’ menu and select ‘Default Tray’ > ‘Materials’ to open the Materials panel.
- In the ‘Materials’ panel, you will see two windows – one displays the current material (which will be applied when using the ‘Paint Bucket’ tool), and the other shows a list of materials and textures that you can choose from.
Applying Materials and Textures
- First, select the ‘Paint Bucket’ tool in the toolbar or press ‘B’.
- Then, browse through the materials library in the ‘Materials’ panel. SketchUp’s library is categorized into sections like Brick and Cladding, Carpets and Textiles, Metal, Glass and Mirrors, etc., making it easy for you to find what you’re looking for.
- Once you have chosen your material or texture, clicking on it will set it as the current material, visible in the top ‘Materials’ window.
- Finally, click on the face in your model where you want to apply the material or texture. You will see the face update immediately with the new material/texture.
Editing Materials and Textures
SketchUp also allows you to edit and customize materials and textures. To do this:
- Apply a material or texture to any surface as previously described.
- Then, in the ‘Materials’ tray, right-click on the surface with the material you wish to change, and select “Edit”.
- A dialogue box will appear with options to change the color, texture, and size. Adjust these settings until you’re happy with the material.
- When done, click elsewhere on your model to close the edit dialogue.
By applying different materials and textures, you give your model character, depth, and a more realistic look. Happy designing!
Adding Details and Components
SketchUp’s 3D Warehouse and built-in components feature provide an array of premade components that you can use, such as furniture, plants, cars, people, etc. Additionally, you can create your own reusable custom components.
Adding Premade Components
- Click on ‘Window’ from the top menu and then ‘3D Warehouse’, or simply press ‘Ctrl+Shift+W’.
- Once the ‘3D Warehouse’ window opens, use the search bar to find what you’re looking for, be it a chair, a table, or a tree.
- Click on the model you like and then ‘Download’. A prompt asks if you want to load the component directly into your SketchUp model. Click ‘Yes’.
- Click on the spot where you want to place the component. You can then use the ‘Move’ tool (‘M’) to fine-tune the placement.
Creating and Saving Custom Components
If premade components don’t suit your needs, you can also create and save your own:
- Create your object – it could be a piece of custom furniture, a unique window style, anything you want.
- Once it’s complete, use the ‘Select’ tool (‘Space’) to highlight your entire object.
- Right-click and select ‘Make Component’. You can also find ‘Make Component’ in the ‘Edit’ menu.
- A dialogue box appears. Here, you can name your component, add a description, and define the component axes, among other options. When you’ve inputted your information, click ‘Create’.
- To save the component for future use, right-click on it and select ‘Save As’. Store it in a location on your computer where you can easily find it in the future.
SketchUp’s components feature significantly speeds up the modelling process and is a great way of maintaining a coherent architectural style across your designs. Happy modelling!
Presenting Your Model
Presenting your model is an essential part of 3D design – it’s your opportunity to show your work to clients, colleagues, or other stakeholders. SketchUp offers a range of tools to help you make your presentation look professional and captivating. Here are some steps to guide you:
1. Scene Setup
Make sure to set up your scenes before presenting. Scenes are a way of saving specific viewpoints, styles, shadows, etc. that you want to show during your presentation.
- Navigate to the view you want in your model, go to ‘View’ > ‘Animation’ > ‘Add Scene’. This will save the current view for easy reference.
- You can create multiple scenes for multiple angles and aspects of your model.
2. Styles
Set the visual style of your model. Use ‘Monochrome’ for a basic, minimalistic look, or ‘Shaded with Textures’ for a vibrant, lifelike presentation.
- Go to ‘Window’ > ‘Default Tray’ > ‘Styles’ to select pre-set styles or customize your own.
3. Shadows and Fog
Enhance your model with shadows and fog for added depth.
- Shadows can be turned on and off and adjusted under ‘View’ > ‘Shadow Settings’.
- Fog can be enabled and customized under ‘View’ > ‘Fog’.
4. Section Planes
Use section planes to show cutaway views of your model.
- They can be created from ‘Tools’ > ‘Section Plane’ and adjusted to suit your needs.
5. Walkthroughs
Create virtual walkthroughs of your design to help stakeholders experience the space.
- You can animate transitions between scenes by going to ‘View’ > ‘Animation’ > ‘Settings’ and adjusting the transition time.
6. Export Options
Export your presentation in a variety of formats, including images, videos, and 3D models.
- Go to ‘File’ > ‘Export’, and choose the type of export suitable for your presentation.
Remember, presentation is all about highlighting the best features of your work and helping others understand your design intent. So, be sure to plan your presentation thoroughly to make the best impression!
